Monday, September 25, 2023

5x7 Box Card Witch

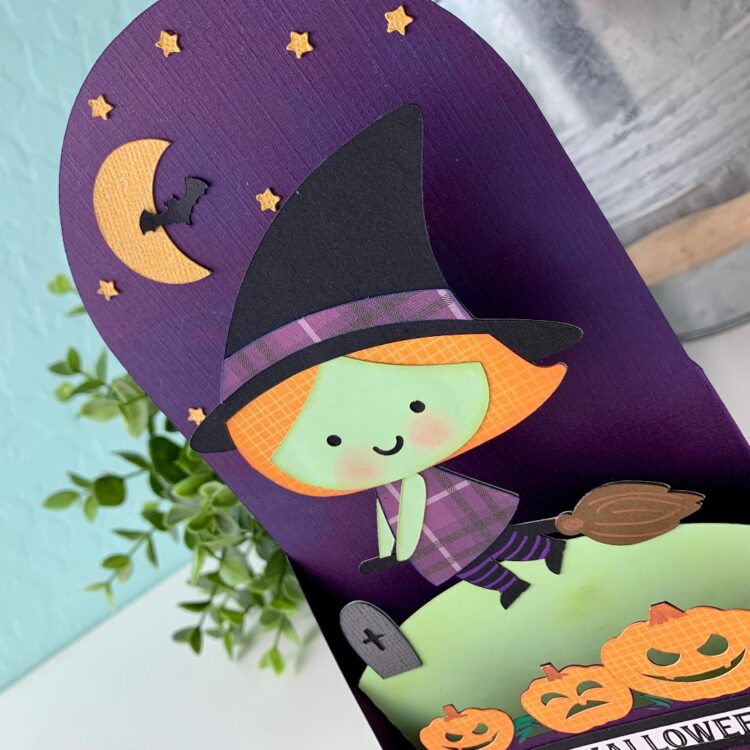
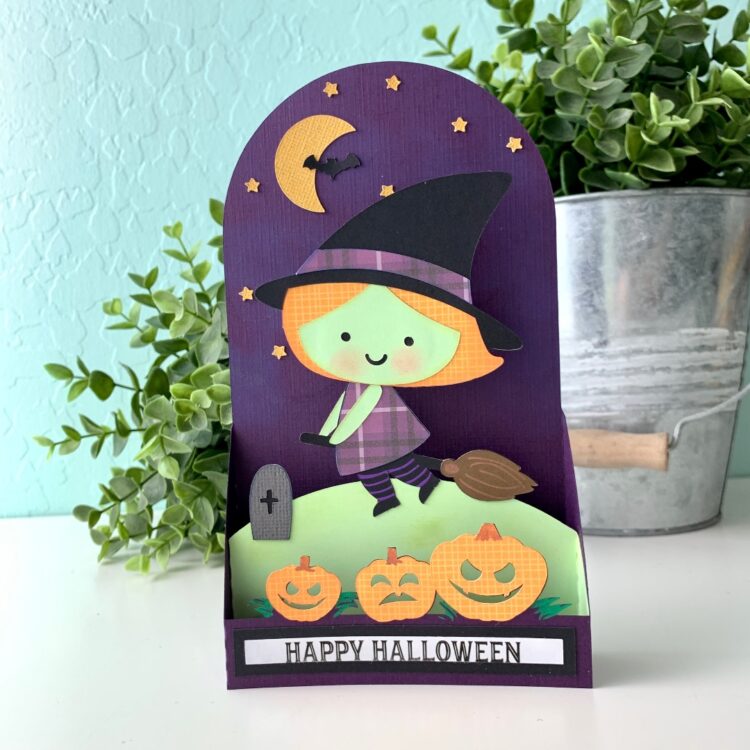
Hi there friends! Have you started Halloween crafting yet? By the looks of things, the Lori Whitlock creative team is in full Halloween mode! I love that, I love cute Halloween crafts, decor and parties! Every year my family has a Halloween party and I like to send out an invitation. This year I made the 5x7 Box Card Witch (SVG, Silhouette) with the party details on the back. This card does have some small pieces but isn't complicated. I was able to get six of them completed in an afternoon.

Thanks for stopping by today and happy spooky season!

Brandie

Monday, September 11, 2023

Lori Whitlock Creative Team September 2023 Blog Hop

Hi friends! Thanks for hoping along with us. The order this month is Lori, Traci, Brandie, Cathy, Marcia, and Chelsea. Today I am sharing this cute Box Card Envelope Fall Squirrel (SVG, Silhouette) I made. This card is so cute and comes with a print and cut sentiment, but I swapped it out for a sticker from the I Love Fall collection by Echo Park Paper the pattern papers and embellishments are also from the collection. 


Thanks for hoping along with us today. Cathy is up next. 

PS Don't forget the free file today and the 30% off coupon code!

Brandie 


Thursday, September 7, 2023

3D Small Pumpkin Tutorial

Hi there and Happy almost Fall! I live in the desert southwest and it has been hot, so I am very ready for cooler temps! Today I am sharing a tutorial for the 3D Small Pumpkin (SVG, Silhouette). There is also a larger version of this pumpkin (SVG, Silhouette) that comes together in the same way. The smaller size fits nicely in my tiered tray so that is what I went with. I also used papers and embellishments from the new I Love Fall paper collection by Echo Park Paper. 

First, I folded all of the score lines as mountain folds and put a slight curve in the paper for the sides of the pumpkin. I also added a curve to the decorative paper sides. I used a liquid glue to secure the decorative panels to the front, back, and sides of the pumpkin. I found working from the center out was the best to get the panels spaced evenly. 


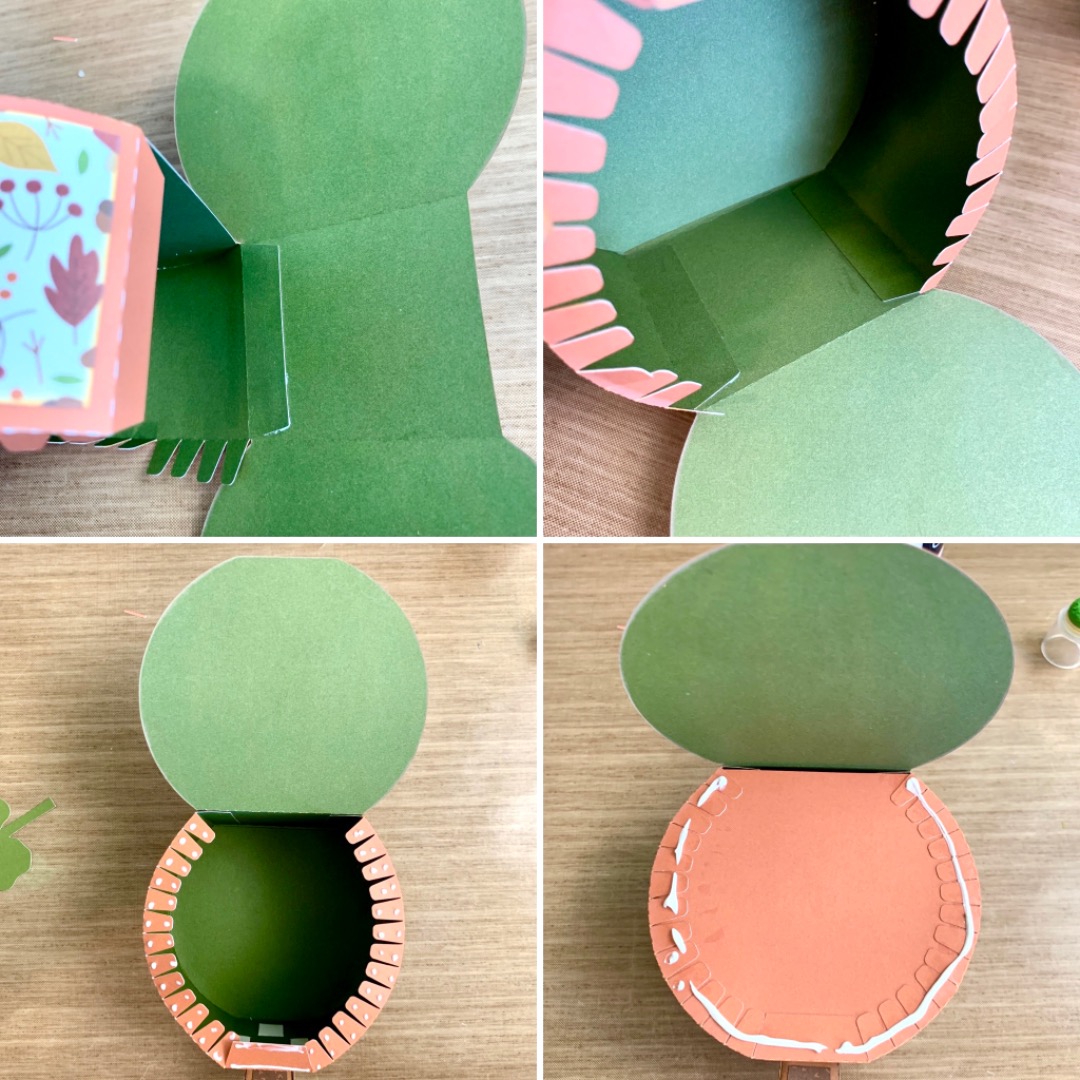
There is one inside piece in the file that helps shape the pumpkin. This piece is glued on the inside of all the tabs.  You could cut two, but it isn't necessary and if you do cut two, add it after the stem is in place. I added glue to the top of the inside piece of the pumpkin (shortest side) and folded the largest tab over. Making sure all of the corners meet up and are straight. Once dry and secure I added glue to one side of the entire edge of the inside piece, started at the bottom, and made sure to line the edges up then proceed of secure the rest of the tabs to the inside piece. Repeating the process for the other side.   


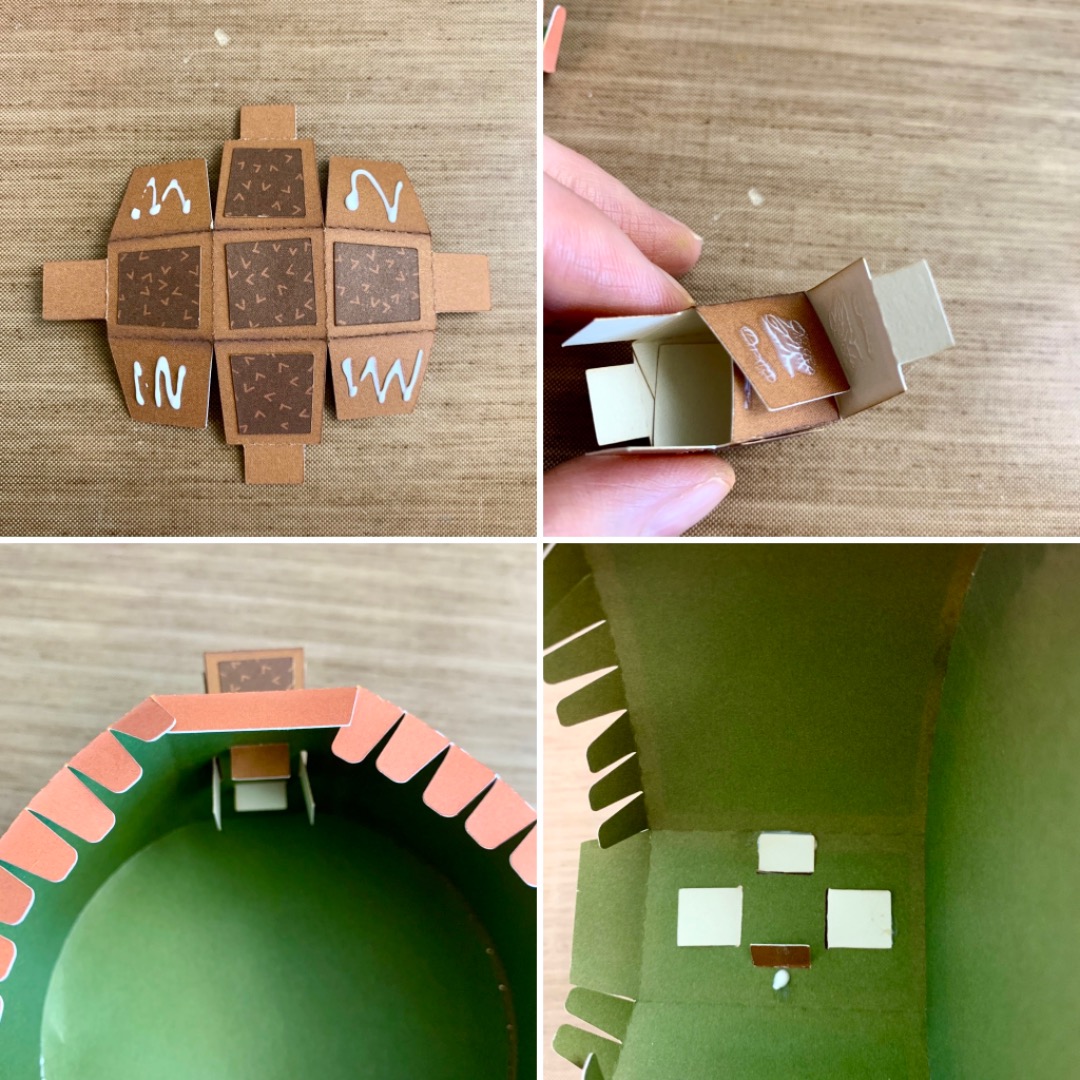
For the steam. There are five decorative panels. One is a square the goes in the middle and the others are polygon shapes that go around the middle making a cross. I added glue to the empty squares and folded the steam making a small box. The tabs on the bottom of the steam are inserted into the top of the pumpkin. There is two short tabs and two longer tabs the short tab are glued down pointing toward the sides of the pumpkin. (so as not to go over the score lines)


Now it is time to secure the front and back of the pumpkin. Like before I started with the bottom tab and made sure the corners and edges were all lined up. I then added glue to all of the tabs and folded the decorative panel over and did my best to make sure everything was lined up and secure. Flipped the pumpkin over and repeated the process. 


The file comes with a couple of pumpkin leaves and a vine. I ended up cutting the stems off of the leaves and securing them to the front of the pumpkin. I also added a few puffy stickers and chipboard from the collection as well as some gold ink splatter. 


I love how this little pumpkin turned out. It is a fun little Fall project that makes a darling decor piece for my kitchen tray. Thanks for stopping by today!

Brandie  


Monday, August 7, 2023

Lori Whitlock Creative Team August 2023 Blog Hop

Hi friends! Welcome to the Lori Whitlock creative team blog hop! Today the order is Lori, Traci, Brandie, Cathy, Marcia, and Chelsea. Today I am sharing a project I made with my laser. I engraved this Kitchen Conversions 4 (SVG this one isn't in Silhouette but here is another one Silhouette) onto a mini cutting board. This little kitchen sign will cute propped up with other bread boards and so handy! 


Thats all I have today, head on over to Cathys blog for the next stop! Thanks for stopping by.

Brandie 


Lemon Slice Card

Hi there crafty friends! Today I am sharing the Shaped Card Lemon (SVG, Silhouette). I like making cards like this in batches. They are quick and easy to assemble and are great for when I need some craft therapy! Cards like this also come in handy when I need to send a quick note to someone. I pulled out all my summers papers and embellishment. Most of the stickers came from the A Slice of Summer sticker book by Echo Park Paper Co. and a few from the Here Comes the Sun sticker book.


I love how bright and cheerful they turned out. Thanks for stopping by today!

Brandie Adams
Thursday, July 27, 2023

Back to School Crayon Box Card Tutorial

Hi there! Are your kids already headed back to school? Mine starts next week and I have nieces and nephews who have already started. Crazy. With school starting soon we also have meet the teacher night and I like to give a card to our new teacher. This year I made the Box Card Crayon Back to School (SVG) card. Here is how I made it.

This box card only has one insert, but I cut two of each of the crayons. The pieces are kind of small but manageable. I used a sticker maker for some of the really small ones and I fine tip glue bottle for everything else. I folded all of the score lines as mountain folds. I inked the outside pieces with like colors and the smaller detail pieces of the crayons I used black ink. 


I glued the crayons in ROYGBV order on the insert and glued the second set of crayons in the reverse order on the inside of the back of the box card (I did this after I glued the box together). I also glued the front details of the crayon box on as well as the sentiment. 


With the crayon box open flat I glued the left tab of the insert onto the left side of the box card lining up the tab up with the inner most score line. I also folded the front of the box card over to help line everything up.


With the box card open flat again I folded the left outside edge tab in and added the glue. Then I added glue to the right-side tab on the insert. The tab should be lined up with the score line on the inside of the box card.


I folded the front of the box card over and held in place while the glued set. Also making sure the everything was lined up correctly.

I glued the second row of crayons in and added a few stickers from the School Rules collection by Echo Park Paper. 


This card turned out so cute. Thanks for stopping by today and Happy Back to School!

Brandie 


Monday, July 10, 2023

Dino Mini Album

Hi crafty friends! Today I am sharing a cute little mini album I made with the new Dino-Mite collection by Echo Park Paper and the Mini Album cut file (SVG).


This little album has five built in hinges but has room to add a few more in-between the pages. The cut file also includes six different pages including a fun tag pocket. This album can be used for all sorts of occasions all that needs to change is the paper and embellishments.

Thanks for stopping by today!

Brandie