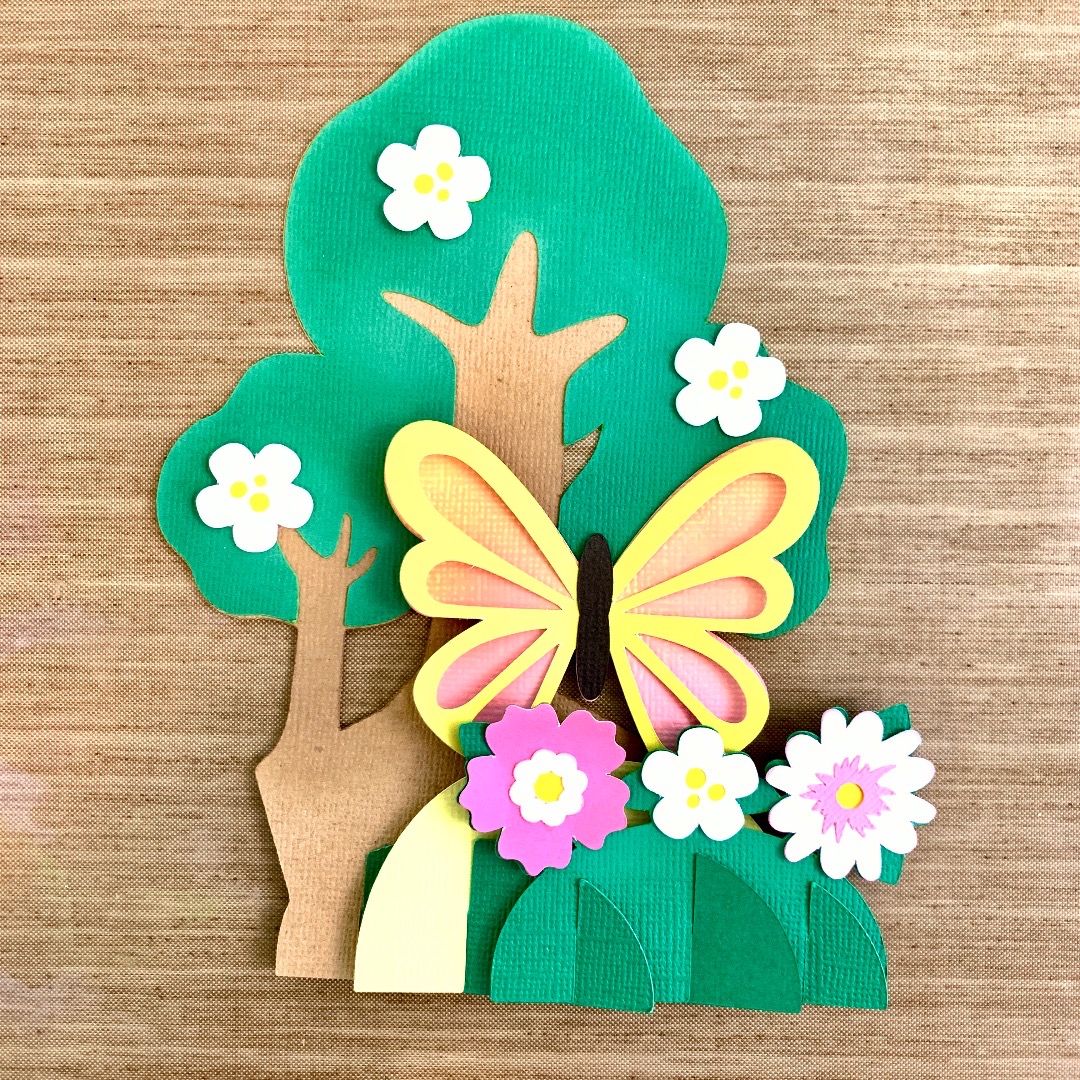
Hi there friends! Today I'm sharing a tutorial for the new 5x7 Grid Pop Up Cards. I am using the 5x7 Grid Pop Up Card Butterfly (SVG, Silhouette). These cards have the pop-up wow factor of a box card but are much easier to make and they fold flat for mailing! These cards are also great scrap busters I didn't need to cut into a new 12x12 sheet paper for any of the pieces.
Once I had everything cut out of 80lb cardstock I inked the edges of the treetops, flowers, and butterfly. This file also has a print and cut sentiment that is glued onto the back of the treetop (not pictured).
I then assembled the insets. For the small flower pieces, I used my sticker maker. When I glued the butterfly together, I only added glue to the center body portion to give the wings a little more dimension.
Now to assemble the card. There is three green base pieces two smaller and one large. Each one has three slits cut into them. The smaller bases are for the outside and large one goes in the middle.
Starting with the trees slide each base into the slits at the bottom of tree panel. The bottom edge of the tree panel and the bases should be level and touching the table. Now add the butterfly panel and the flower panel the same way.
To fold flat just push base over to one side. The bases do not need to come apart to fold flat.
This card is fun and easy to make, and Lori has lots of versions. Definity go check them out! Thanks for stopping by!
Brandie