Monday, September 19, 2022

Pumpkins Sweet Spooks & Treats Sign

Hi friends! Today I wanted to share a cute little sign I made for my Halloween tiered tray decor. I used the Pumpkins Sweets Spooks & Treats file (SVG, Silhouette). I used my Glowforge laser cutter to engrave the image, but the same look can be achieved with vinyl. This saying would also be really cute on a shirt with iron on vinyl. This sign will be so cute in my kitchen for the spooky season.

Thanks for stopping by and happy spooky season!

Brandie

Sunday, September 18, 2022

Bakery Box Card Assembly Tutorial 8/25

Hi friends! I'm stopping by today to share a tutorial for the Box Card Bakery (SVG, Silhouette). This card is so darling and would make a fun birthday, get well soon, thank you, or just because card. 
I cut out all of pieces in various shades of cardstock and then inked around the edges of most of the pieces in matching colors to give them a little depth. 

This card does have several small images and for me the easiest way to assemble them is using a sticker maker. The adhesive is strong with no mess or glue seepage that can happen with wet glue. 


First, I folded all of the score lines into mountain folds. Then glued the white panel on what will be the inside of the card. This panel is to cover the holes for the door and window.  


I then assembled the bakery sign, and awning. Dry fit the white pieces before gluing into place. Each little piece has a correct place on the awning. The image cuts the stripes in the right order. If you are careful when taking them off of your mat and keeping them in order, you won't have a hard time assembling them.  Or if you are like me and go willy nilly pulling everything off the sticky mat it isn't too hard to figure out the correct placement. 


I attached the door and window frame first. Then added the awning, the top trim piece, then centered and the bakery sign. I also added the smallest bread loaf, donut, and cookie to the window display. 


For the insert I added the pretzel and largest loaf first then added the donut. 


Now its time to assemble the box card. Flip the card base over so that the inside is face down on the table. With the insert face up, valley fold the tabs, and add glue to the right tab only. Glue down on the card base. (I added the X to show where to glue.)  


Line up the tab with the top of the card base and to the left of the score line. 


For the left tab valley fold the tab and add glue. Then fold over the left side of the card base. (Aiming for the spot where I have drawn the X.)


Hold until the glue sets. 


The box card id ready to be closed up. Add glue to the last tab on the left then fold the right side of the card over. making sure everything is lined up. 


Now it is ready to be sent off to someone special. Thanks for stopping by today!

Brandie 


Monday, August 8, 2022

Lori Whitlock Creative Team August 2022 Blog Hop

How in the world is it August? August! Crazy. 

Hi friends. Welcome to the Lori Whitlock creative team blog hop! This month the hop order is Anita, Brande, Ashley, Cathy, Marcia, and Michelle. 

I have really enjoyed making the cards from the Summer Card Bundle 3 (SVG) and today I am sharing the 5x7 Hot Air Balloon Card (SVG, Silhouette). I changed up the sentiment a little by not printing the print and cut sentiment and adding a sticker from the paper collection. I used papers and stickers from the All About a Girl collection by Echo Park Paper. So cute! 


Next up on the hop is Ashley. Be sure to enter the giveaway and get your free file for today! Have a great week! 

Brandie 


Monday, August 1, 2022

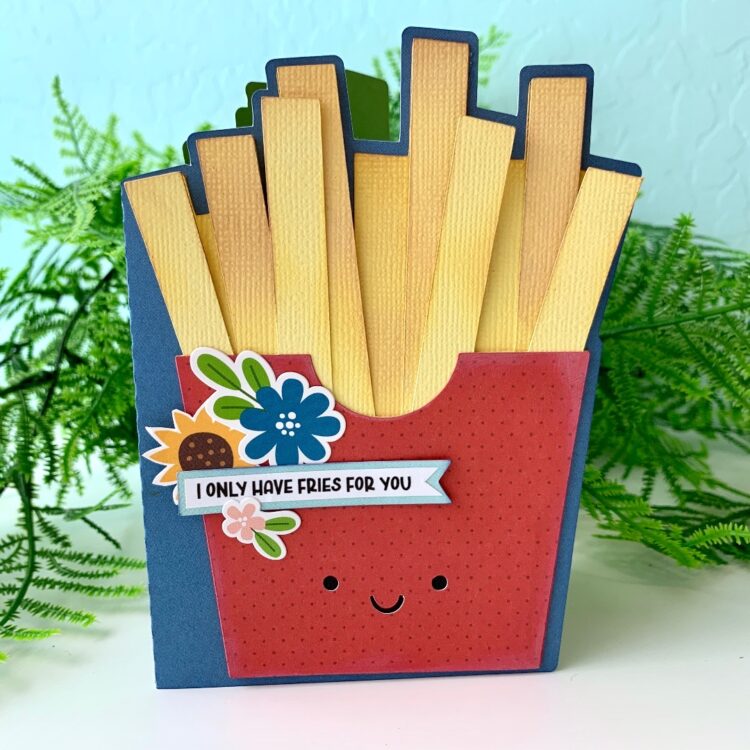
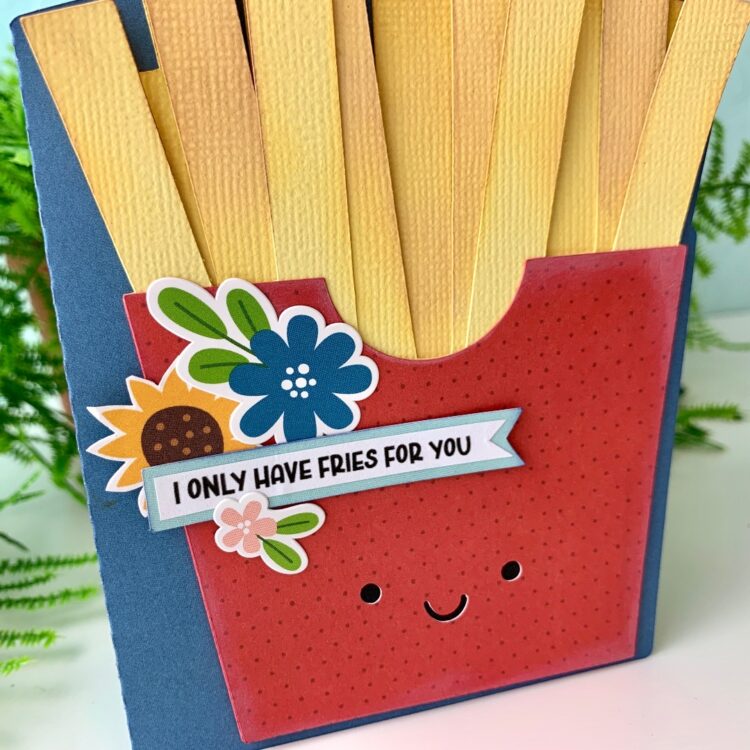
Fries For You Card

 Hi friends! Have you seen the new summer cards in Lori shop yet? (SVG) So cute! This french fry card is a perfect card for all the fry lovers, summer birthdays, and loves in your life (SVG, Silhouette). This A2 card is only a few layers and is easy to assemble. I inked the edges of my fries to add dimension and added a few flowers around the sentiment. Easy peasy!  The papers and stickers are from the Fun on the Farm collection By Echo Park Co.  

Thanks for stopping by and have a great week!

Brandie

Saturday, July 30, 2022

Pencil Box with Slip Lid Tutorial

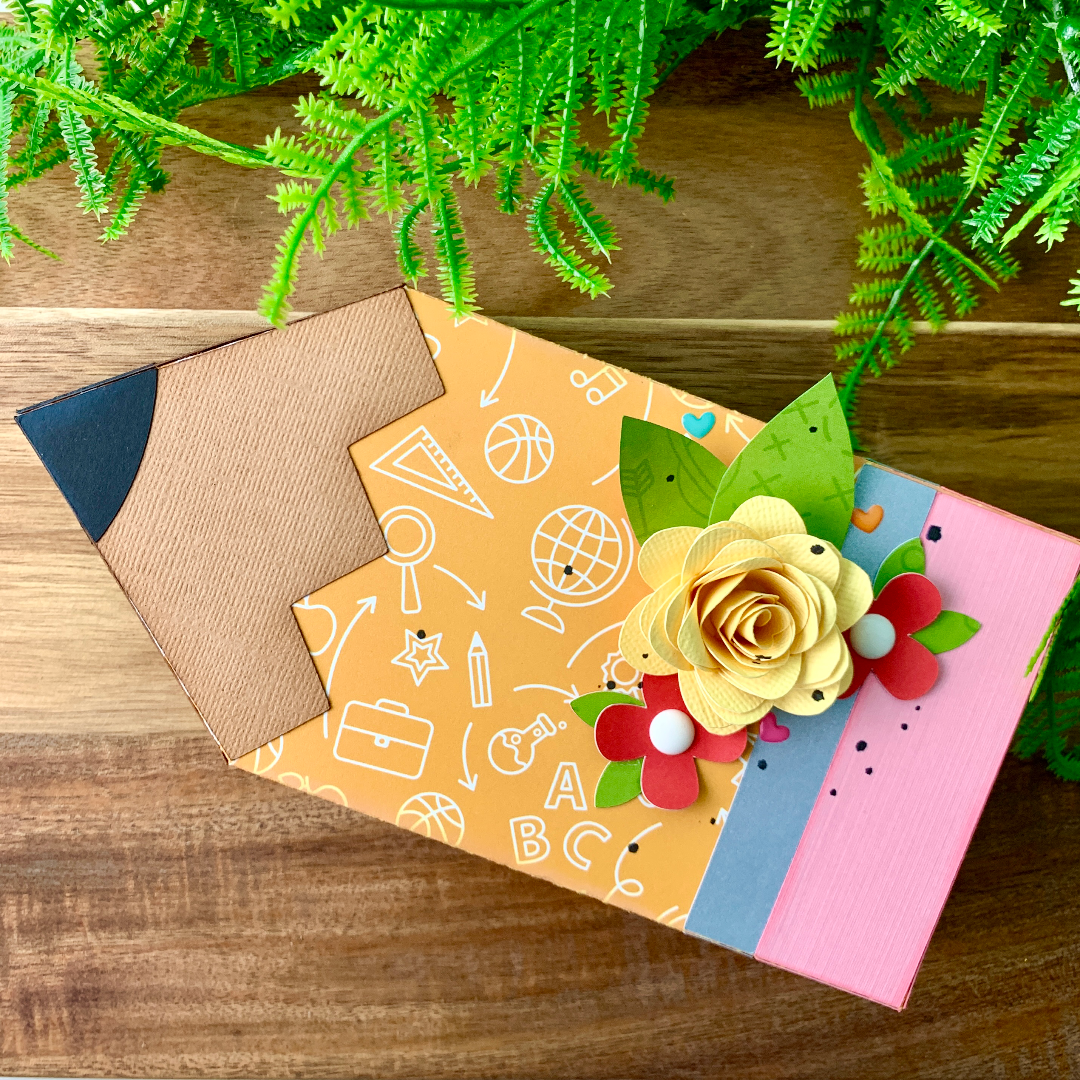
Hi there friends! Today I am sharing a tutorial for the Pencil Box with Slip Lid (SVG). It is teacher appreciation week here and I wanted something cute and homemade to give to my sons teachers this year. This little box is a good size to fill and also makes a darling decor item.

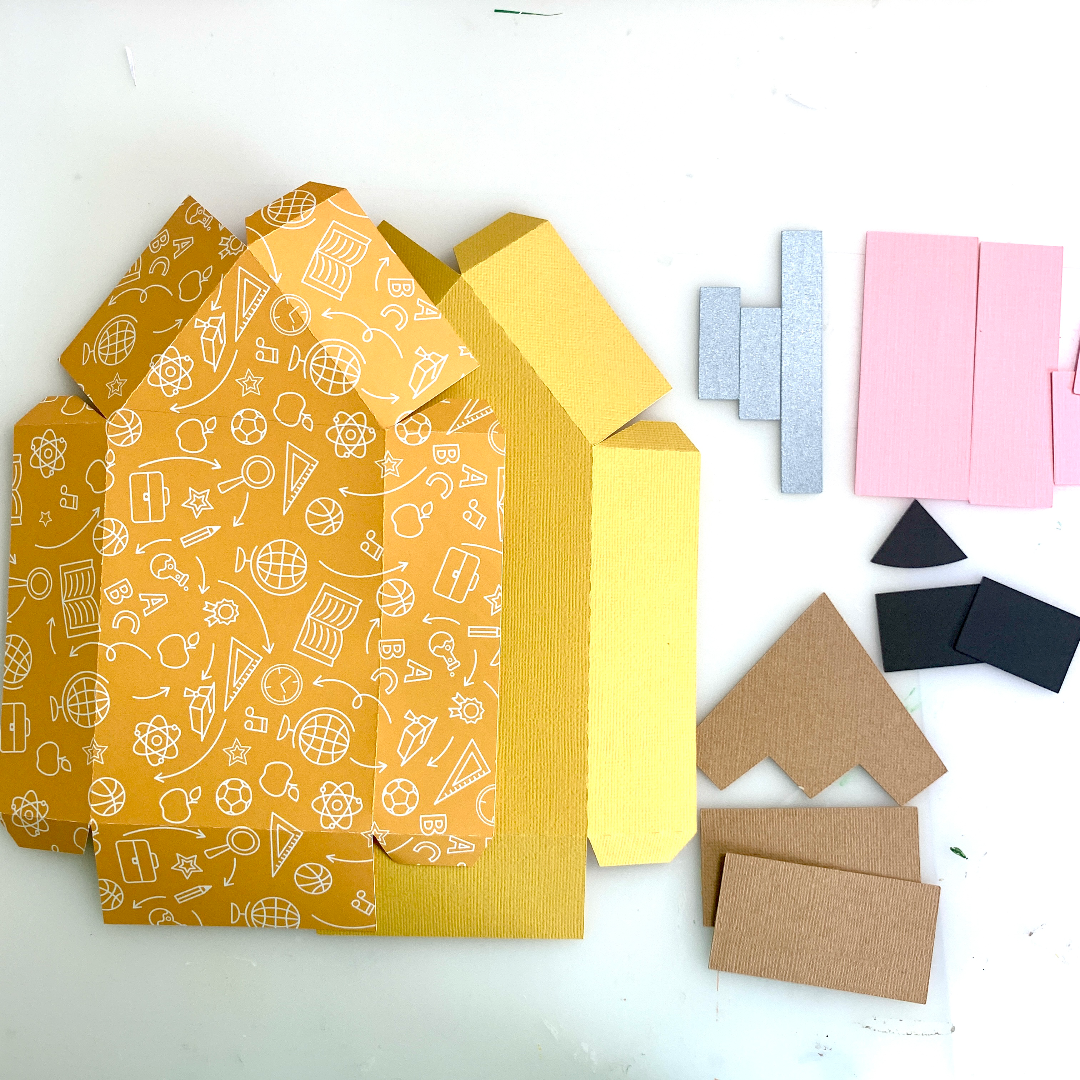
I cut most of the pieces from cardstock with the exception of the lid piece. I used some pattern paper from the Back to School collection by Echo Park Paper co.  The lid is a little larger than the bottom of the box. All of the score lines are folded the same way. I folded them as mountain folds. I also inked all of the edges of the decorative elements for the pencil.  


I started with the base of the box but the top is glued the exact same way. I used a liquid glue and glued all of the tabs so that are on the inside of the box. 


The top and bottom of the box should look like this and fit nicely together. 


I dry fit all of the decorative elements first. Once I had everything mapped out I used the same liquid glue and glued everything down. 

Then I had to make it fancy. I added a few flowers, enamel dots, and some ink splatters. The yellow flower is the Rolled Flower 25 (SVG, Silhouette) and the red flowers are from the A7 Flower Card (SVG, Silhouette).


I tucked a drink card inside as well as little note of thanks and sent it off to school with my son. Thank goodness for teachers! 

Thanks for stopping by today!

Brandie 

Monday, July 11, 2022

Lori Whitlock Creative Team July 2022 Blog Hop

Hi there! Welcome to the Lori Whitlock Creative Team Blog Hop. I hope your day is going well and that you are staying cool. It is currently 111 degrees at my house, so my A/C is getting a workout! The blog hop order this month is Traci, Anita, Brandie, Aimee, Ashley, Cathy, Marcia, and Brigit. 

This month I am sharing a memorydex project I started a few weeks ago and have been trying to finish up. In hate when real life gets in the way of crafting! Ha! I used the Memorydex Bundle (SVG, Silhouette and Silhouette). The papers, stickers, and ephemera are from the Our little Princess Collection by Echo Park Paper Co.


This project has been fun to work on and I now have plans to make another one for summer. Thanks for stopping by today. Aimee is up next. Also don't forget to pick up your free cut file from Loris's store today!

Thursday, June 30, 2022

Change the Color of Stickers in Design Space

Hi friends! I'm stopping in today to share a quick tutorial on how to change the color of your print and cut stickers in Cricut Design Space. I used the new Summer Stickers 2 (SVG). These stickers are so cute but I wanted something a little less pink. 

I uploaded the stickers into Design Space and ungrouped the large group of stickers and moved out the images I wanted to use for this project. Be sure to keep the individual stickers grouped together.  Then I deleted the rest of the sticker I wasn't using from the mat. 


I then added a 5x7 rectangle and resized the stickers to fit my card.
 

Using the layers panel on the right side of the design mat select the individual pieces that need to be color changed. With the image selected in the layers column move to the Operations tab on the top left and select the colors drop down, pick the new color, and repeat for the rest of the pieces on the sticker. Be sure to keep the stickers grouped together. 
   

Now that the sticker colors are changed they are ready to be flattened, sent to the printer, cut. 


I used the printed stickers and the Endless Summer collection by Echo Park Paper Co. to finish off this card. 


That is it for me today. Thanks for stopping by!

Brandie