Wednesday, January 18, 2023

Mini Vertical Mailbox Tutorial

Hi there! Today I am sharing another cute Valentine's Day project. This little mailbox is a perfect size for a tiered tray or a small space that needs a little holiday decor. It can also be filled with treats to give to a special someone. 

The file is the Mini Vertical Mailbox (SVG, Silhouette). I cut everything out of 80lb cardstock. All of the score line are mountain folds except for the front door.  


I started with the bottom and glued the tabs to the longest piece while lining the bottom edge up with the score line on the tab. I then glued the sides of the mailbox to the bottom, again using the score lines and edge of the tab to line everything up. 


This part can be a little tricky but go slow and really secure the sides before moving to the arches of the mailbox. I applied the glue to the front straight sides first and made sure they were secure. 


As I moved along to the arches, I applied glue to a few of the small tabs at a time and made sure they were dry before moving around the arch. I glued each side separately. Then when the arches were dry, I applied glue to the three remaining tabs, lined them up then flipped the mailbox onto its back and pressed the tabs down from the inside through the front door.    


I then glued the pattern papers on the sides and front door and assembled the little envelope. I then glued the red trim strips of paper to the edges of the mailbox.  I glued the largest heart to the front door and added a floral sticker. I also glued the little envelope to the front the mailbox.
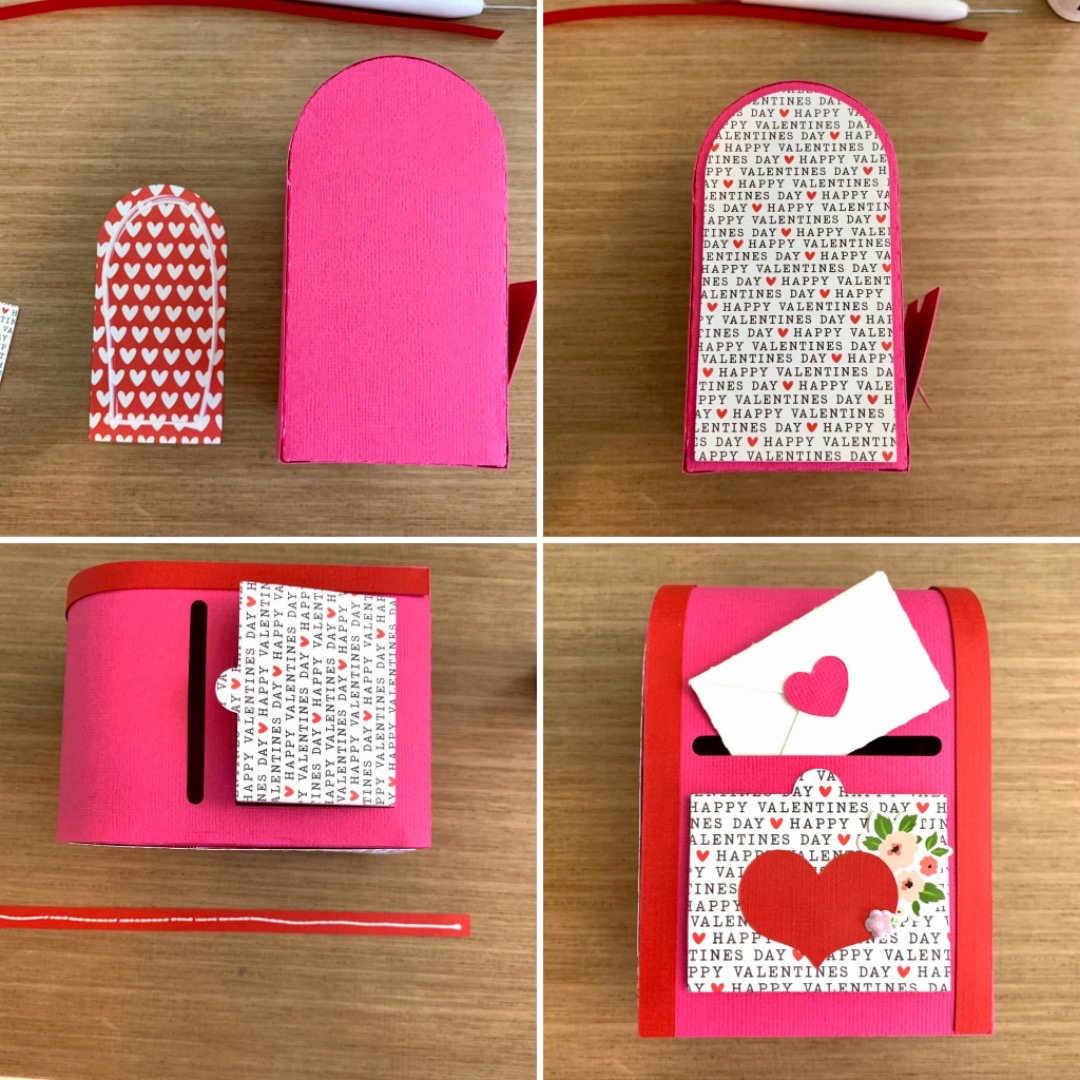


Now this little mailbox is ready to be displayed with my other holiday decor. Thanks for stopping by today friends!

Brandie 

Monday, January 9, 2023

Lori Whitlock Creative Team Blog Hop January 2023

Hi friends and Happy New Year! Welcome to the blog hop this month. The order is Tarci, Brandie, Ashley, Cathy, and Marcia

This has been a theme for me the last few months.. SOOO. I made another sign. This one is a Valentine's Day cutie. I used the Be Mine Repeat (SVG, Silhouette). 

I used my Glowforge laser cutter, but this would be cute made with vinyl or even paper. Thaks for hoping along with us today! Have a great week. 


Brandie

This month's discount code. 

Sunday, December 25, 2022

Christmas Mini Album 12/26

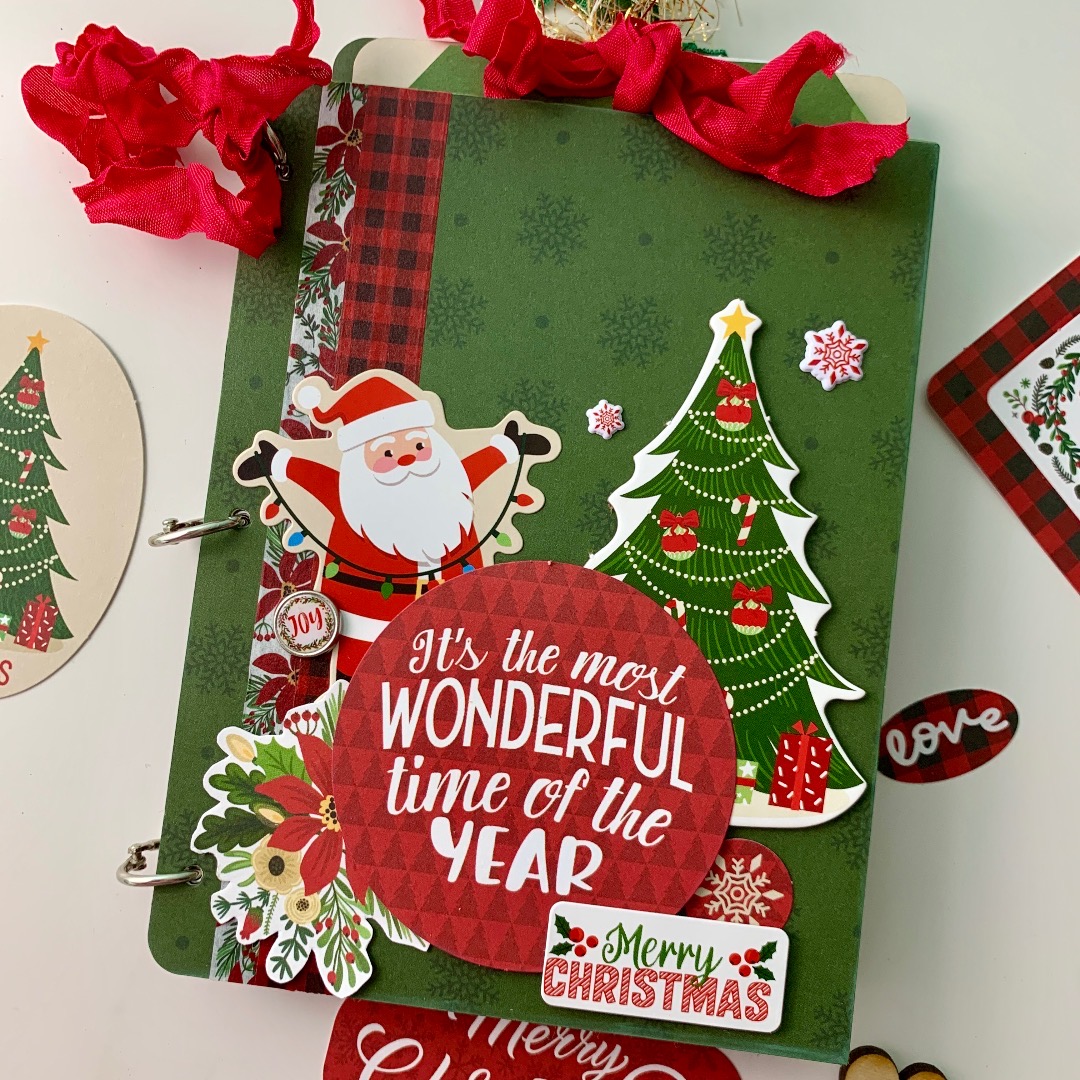
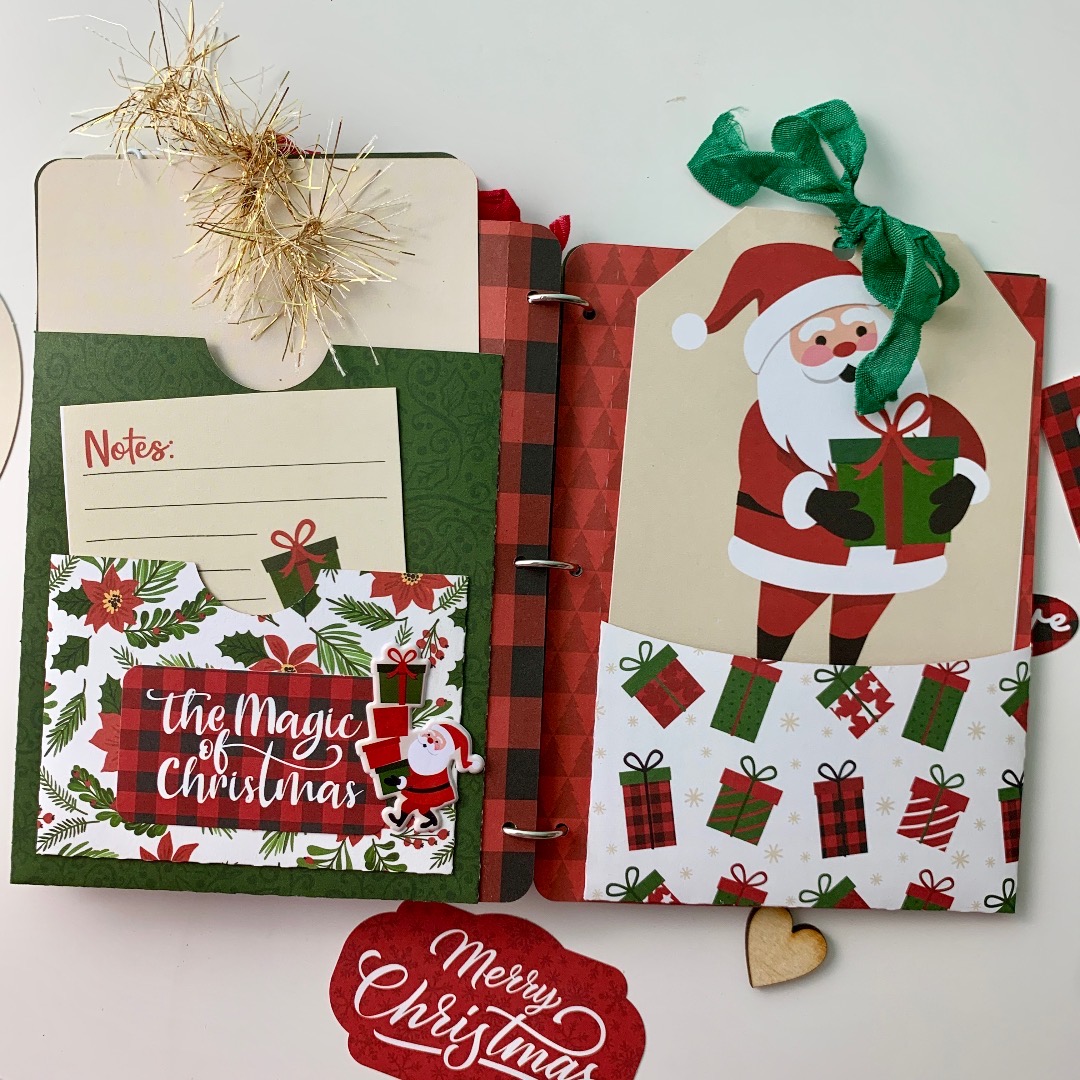
Hi Friends! I hope you all had a lovely Christmas that was warm and safe! Today I am sharing one of the mini albums from the Fabulous Mini Album Bundle (SVG, Silhouette). I haven't made a December daily album for a few years because they are always so much work and I never seem to be done. So, I decided to scale it down a lot and just make a mini album. Less work, less pressure, but still so fun and cute! I just need to add my pictures and journaling. 


All of the papers, stickers, and embellishments are from The Magic of Christmas collection by Echo Park Paper.

Thanks for stopping by today!

Brandie

Monday, December 12, 2022

Lori Whitlock Creative Team December 2022 Blog Hop


 Hi there! Welcome to the December blog hop! The hop order this month is Traci, Kathy, Anita, Brandie, Ashley, and Marcia. We are so glad you are here. This month I made the Box Card Van Christmas Tree (SVG, Silhouette). This box card was on my list last year to make but I didn't get a chance until now. That always seems to be the way the project list to way longer than I have time for.. lol! I love this Christmas version of this card. I used papers from The Magic of Christmas collection by Echo Park Paper Co.


Thanks for being here. Ashley is up next!

Brandie

Isn't this tag darling!


Wednesday, December 7, 2022

3D Hot Coco Mug Santa

 Hi friends! Today I am sharing a tutorial for the 3D Hot Coco Mug Santa (SVGSilhouette). This little 3D project is a cute treat box that would also make a cute decor piece. I used papers from The Magic of Christmas collection as well as some black, white, and brown cardstock. I also used a liquid glue to assemble.


For the saucer fold all of the score line in a valley fold. Add glue to the one tab and glue together creating a complete circle with a hexagon shape in the middle. 


Add glue to the tabs in the middle of the circle and place the hexagon on top.


On to the cup. With the outside of the cup facing up fold all of the score lines in mountain folds. 


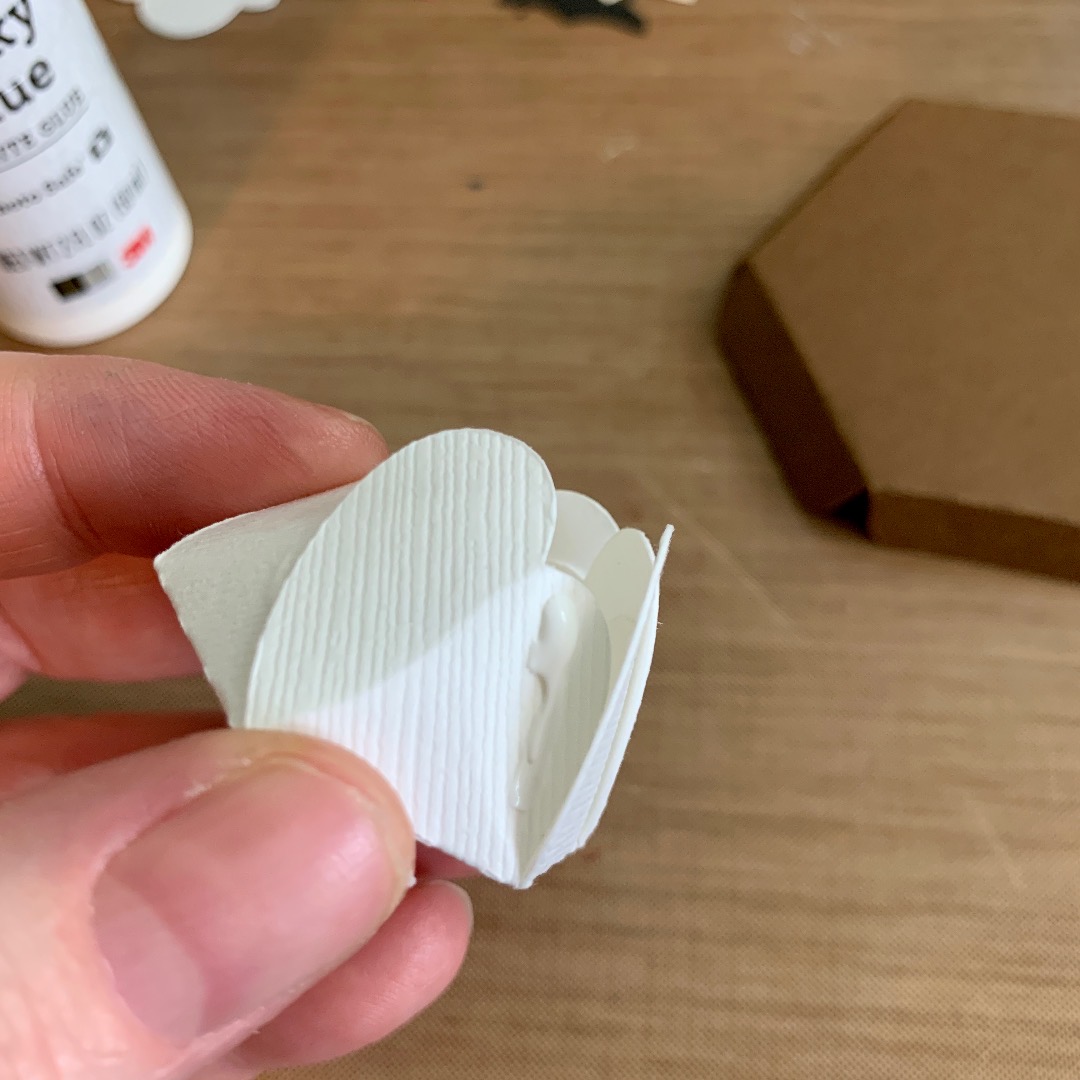
All of the panels are the same so it doesn't matter which one you start with. Add glue to the tabs and using the score lines and the edge of the next panel line the two panels up together pinch each tab for a few seconds to secure the glue. Continue around the cup with the same method on all six sides. 


Now with the sides all glued together. Assemble the Santa on one side of the cup. There are also two shoulders and two beard/hair pieces that attach to the right and the left sides of the Santa. The face is in two layers. The black layer is glued down first then the flesh-colored paper next.    


The mustache, pompom and holly are the finishing touches to the Santa. 


The handle of the cup is two pieces that are glued together. Be sure not to glue the tab together. 


Fold the tabs out and add glue. Attach the handle to the cup with a corner of the cup in the middle of the tabs. 


The lid is also in two parts. For the coco/brown part all of the score lines a folded in mountain folds. And the whipped cream is valley folds.  


I decided to glue the whipped cream panels together. But I don't think it is necessary. Either way glue the whipped cream to the center of the coco and the lid is compete. The lid just slides into the cup with the tabs on the inside of the cup. 


Now the cup is ready to fill with a yummy treat! Thanks for stopping by!

Brandie 

Monday, November 7, 2022

Lori Whitlock Creative Team November 2022 Blog Hop


Hi there! Welcome to the November Blog Hop! Can you believe it is November? It feels like the last half of the year flew by. Any who. The hop order this month is Traci, Anita, Brandie, Ashley, Cathy, and Michelle.

For my project this month I took the fox from the Tuxedo Box Card Fox (SVG, Silhouette) and made a cute little guy for my tiered tray. I used my Glowforge and cut him out of MDF. Painted, glued, and gave him a lace scarf. I just love him. 


Thanks for hoping along with us today. Be sure to grab the free cut file today and enter the giveaway! Ashley is up next.

Brandie 


a Rafflecopter giveaway

Sunday, November 6, 2022

Fall Leaves Wreath

Hi friends! Today I am sharing a project that was inspired by a creator on Tik Tok. Joleen Emery makes beautiful paper art and one of my favorites is a heart made with paper feathers. 

I wanted a Fall theme for my heart, so I used the 6 Fall Leaves 2 (SVG, Silhouette) and cut out 150 cardstock leaves. For the base I used a 10-inch wooden heart but chipboard, cardboard, or even several layers of cardstock glued together would work. I also cut a small hole in the top of heart to add the twine to hang the wreath. Be sure to add the twine before you start gluing the leaves. With hot glue I glued the leaves onto the heart moving around heart shape and repeating that process until the heart was covered. To finish the wreath off I tied a bow to the twine. 


I love how this turned out and have plans to make one with feathers too. Thanks for stopping by and I hope you have a great week!

Brandie