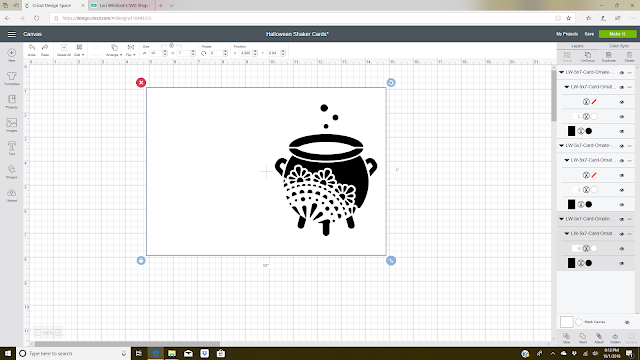
I used the 5 x7 Card Witch Boot, (SVG, Silhouette), 5x7 Card Ornate Witch (SVG, Silhouette), and 5x7 Card Ornate Cauldron (SVG, Silhouette). The black and white papers come from the Fright Night paper stack by American Crafts and the Halloween shaker bits are from Cartwright Sequins.
The cards needed to be adjusted for the shaker element. The first thing is to remove the score line. (I was careful not move the remaining images because they are aligned perfectly for slicing.) Once the score line was deleted I selected the white top layer and the second black layer and sliced the images.
Now that the two layer have been sliced I have two white images and two black images. I deleted the two black images and the original white image.
I repeated the above steps for the other two cards. I then adjusted the size to be a perfect 5x7. This is now the fronts of my shaker cards.
I created a new card base for each of the cards. I added a 10x7 rectangle and add a score line down the center. I also cut three additional 5x7 rectangles for the bottom layer of the shaker element.
I dry fit my shaker pocket with the front and back 5x7 rectangles then marked where I needed to attach the shaker pocket. I attached the shaker pocket with super sticky double sided tape. Then added two layer of craft foam around the edges of the shaker.
I then attached the die cut fronts to my shaker pockets with another layer of double sided sticky tape. Then attached the complete shakers to the card base with my tape runner.
I also added some black and white bakers twine to finish off my cards.
Thanks for stopping by today and have a Happy Halloween!
Brandie


No comments:
Post a Comment