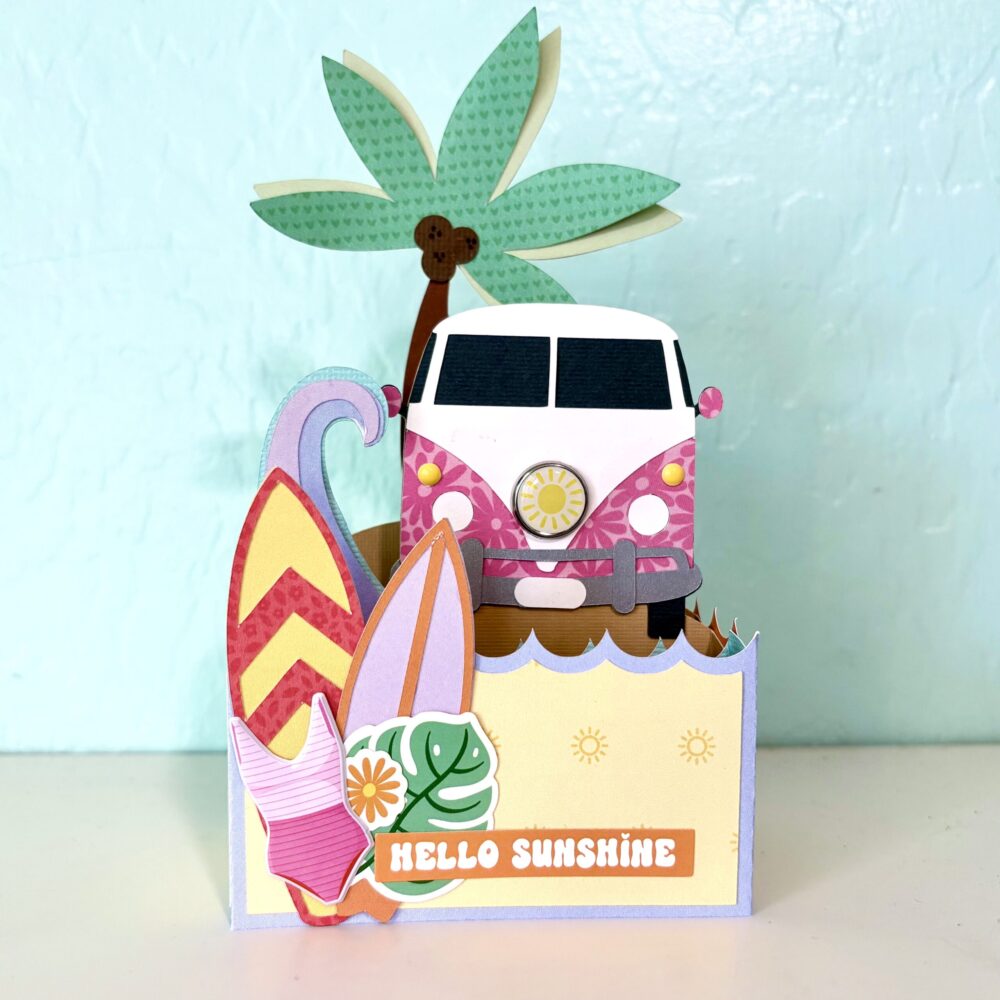
Hi there crafty friends! Today I am sharing an assembly tutorial for the new 3D Flower Bouquet (SVG, Silhouette). Lori has several options and all of them are so fun and versatile. I have made three already! For this project I used papers from the Our Happy Place paper collection by Echo Park Paper Co.
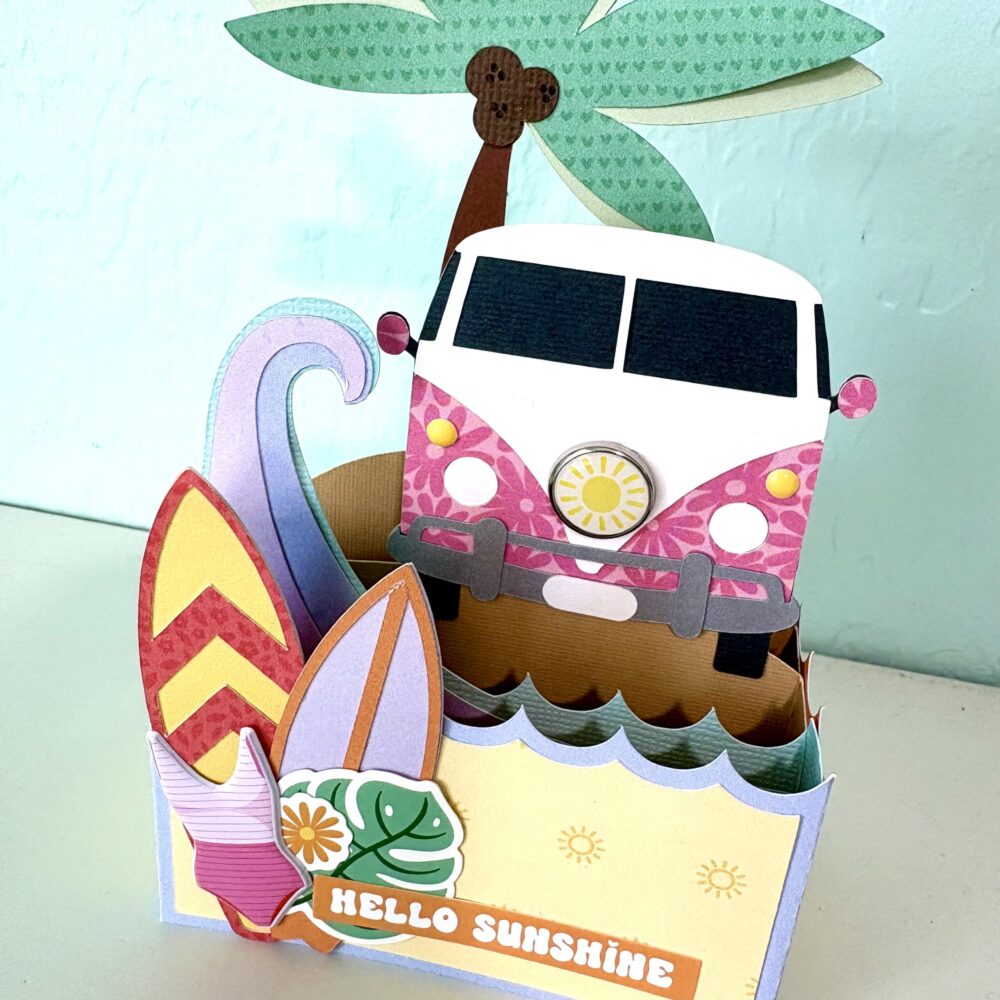
For this bouquet, I wanted to give the flowers a bit more dimension, so I cut an extra layer for each of the smaller blooms. After cutting everything out, I folded all the score lines into mountain folds. I inked the centers of the flowers as well as the edges of the vase and bow. The internal mechanism is glued end to end to form a circle, with the smaller section glued in on itself to create a sturdy easel leg.
Before gluing the internal mechanism to the back of the vase, fold it into an X shape with the easel leg in the center. Apply glue only to the rectangular part of the mechanism and center it on the inside back of the vase. The vase is held together by four small tabs. Add glue to the tabs and the front rectangle of the mechanism, then align the front of the vase with the back, ensuring all edges match up and the tabs are tucked inside.
The file includes centers for all the blossoms, with each leaf composed of two layers. The front layer holds two blossoms, while the back layer contains three.
Apply glue to the square portion on the back side of the back layer, then slide it into the X mechanism. For the front layer, glue only the square section on the front, then slide it into the X mechanism. The bouquet envelope comes in two pieces. The front piece has three tabs folded into valley folds, with glue applied to the back of each tab. Align this piece with the bottom and sides of the back to create a pocket.
The small card has all the elements layered together on the front. For a little extra embellishment, I fussy cut some butterflies, tucked them into the bouquet, and added a flat-backed brad to the bow.
I’m so happy with how this bouquet turned out and can’t wait to give it away. Next on my list is creating a
strawberry bouquet.
Thanks for stopping by today.
Brandie


.jpg)


.png)


